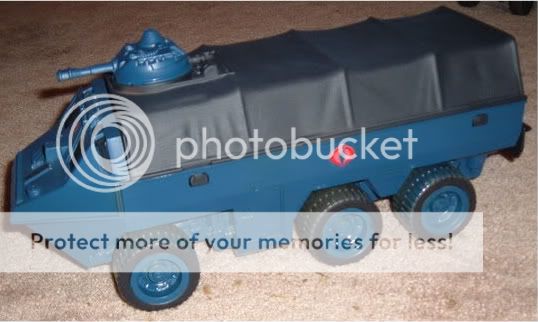
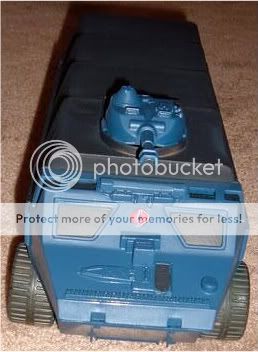
I wanted to start off by adding a troop transport vehicle to the Cobra ranks. Why Cobra was never given a proper troop transport is beyond me. I don't know if kids army built or troop built back in the 80's, but chances were good that some kids did have multiple generic Cobra figures and could have used a troop transport of some sort. This is obviously was the G.I. Joe A.P.C. vehicle. I got lucky when I was looking for this toy as I found one where the decals had never been applied. This helped a lot as I didn't have to take the time to remove the stickers and or the residue left behind. I started off by spray painting the canopy black. I liked the camo look of the original and would have loved to replicate a black & blue camo, but again I'm not that talented! The body was then painted a Cobra royal blue. I didn't paint the interior of the A.P.C. in either the cockpit or the transport area. I did paint the lap bar black, but no other changes were made to the interior.
The windshield was original clear translucent plastic, but I didn't like the look after I painted the cockpit frame royal blue. So I carefully tape off the areas and painted the windshields black. I know it's not really realistic having opaque windows, but I like the look a lot better.
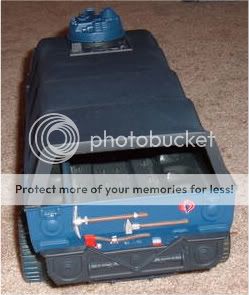
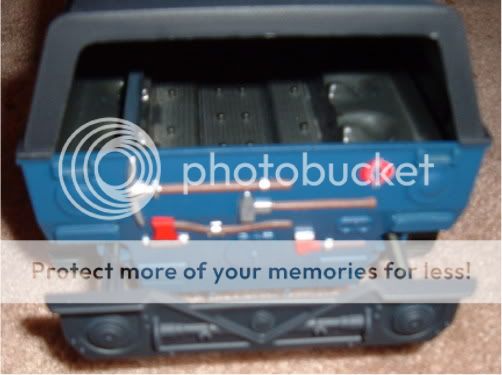
The back bumper also doubles as a handle as the A.P.C. could be used for a make shift carrying case. I wanted a little diversity in the overall color scheme so I painted it black. That is when I noticed some tools and accessories molded into the rear of the vehicle. I don't think I ever noticed those before either as a kid or when I bought this piece to customize. I guess the dark olive green plastic did a good job hiding these details.
Most of the paint used was the basic Walmart brand spray paint, but I wanted to use some better quality paint since I decided to free hand the details on the back of the vehicle. I grabbed some Testors model paint and some fine tip brushes and gave it my best. I thought the outcome was rather good. It definitely brought up some much needed color and helped break up the blue and black.
All that was left was to apply a few Cobra emblem decals on various parts of the vehicle and done - a proper troop transport for the Cobra ranks! This was really easy (with the exception of the wheels maybe) and a lot of fun. I made this several years ago and still have it on display. This was my first ever attempt and I thought it turned out so well that I tried my hand at a few other things which I plan to share in the coming week. So, did I do a good job for a rookie? Comment - let me know!
All that was left was to apply a few Cobra emblem decals on various parts of the vehicle and done - a proper troop transport for the Cobra ranks! This was really easy (with the exception of the wheels maybe) and a lot of fun. I made this several years ago and still have it on display. This was my first ever attempt and I thought it turned out so well that I tried my hand at a few other things which I plan to share in the coming week. So, did I do a good job for a rookie? Comment - let me know!


Yeah man that looks great!
ReplyDeleteLast year I decided to sell all of my old stuff, including the terror dome, the spaceship gi joe base (those were hard as hell to ship)
and I also found some transformers I didn't even remember having as a kid, including a near mint out of the box fortress maximus that ended up selling for over 1100 on ebay. I couldn't believe that.