Thursday, August 28, 2014

Transformers 3rd Party: Impossible Toys - Bump MC-03

Earlier this year the Transformers fandom said goodbye to one of the earliest companies in the 3rd party community, Impossible Toys.  I don't think many people however shed a tear when the announcement was made due to the quality and execution of some of their products.  In my experience with the company their products were hit or miss.  The Tetra Squadron jets they did were a miss (at least for me), but their Quintesson figures were really good.  Impossible Toys' swan song was a set of Mini-Bots.  The release of these seemed to fly underneath the radar and it wasn't long before I saw many of them sold out or on clearance at different online retailers.  I happened to pick up one on clearance myself just so I could experience it first hand.  So did Impossible Toys pull off a modern articulated G1 Minibot?  Read on.

Bumper photo 100_6832_zps1d2c64b2.jpg

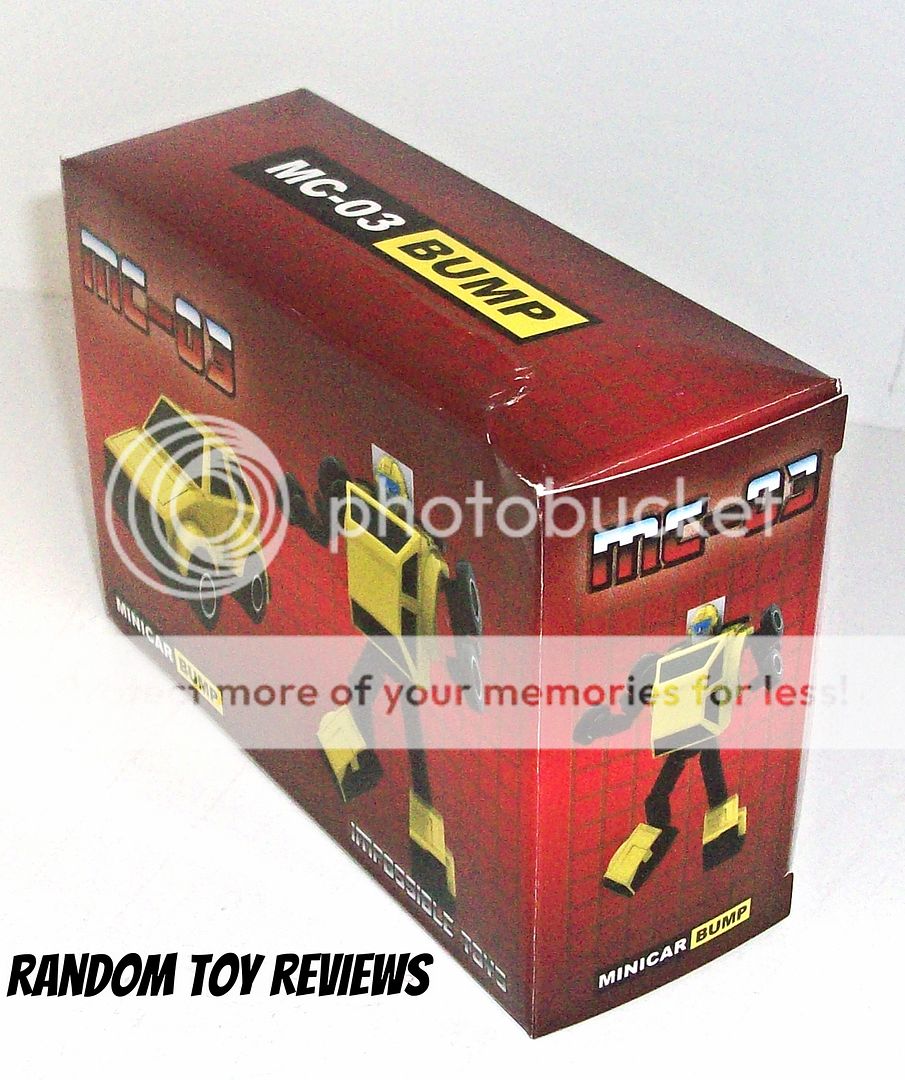
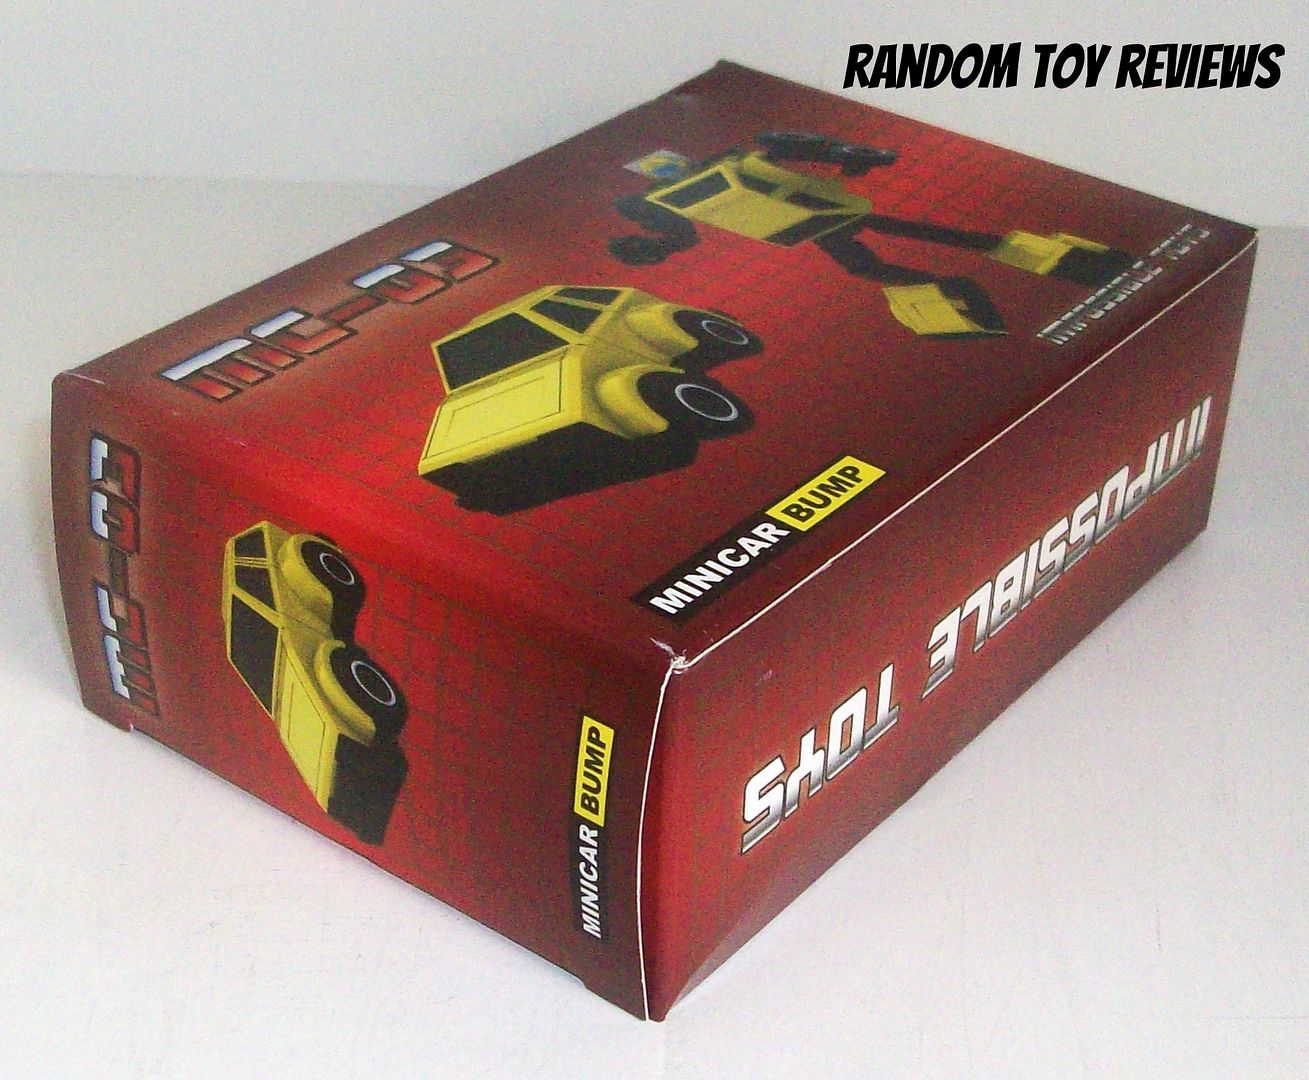
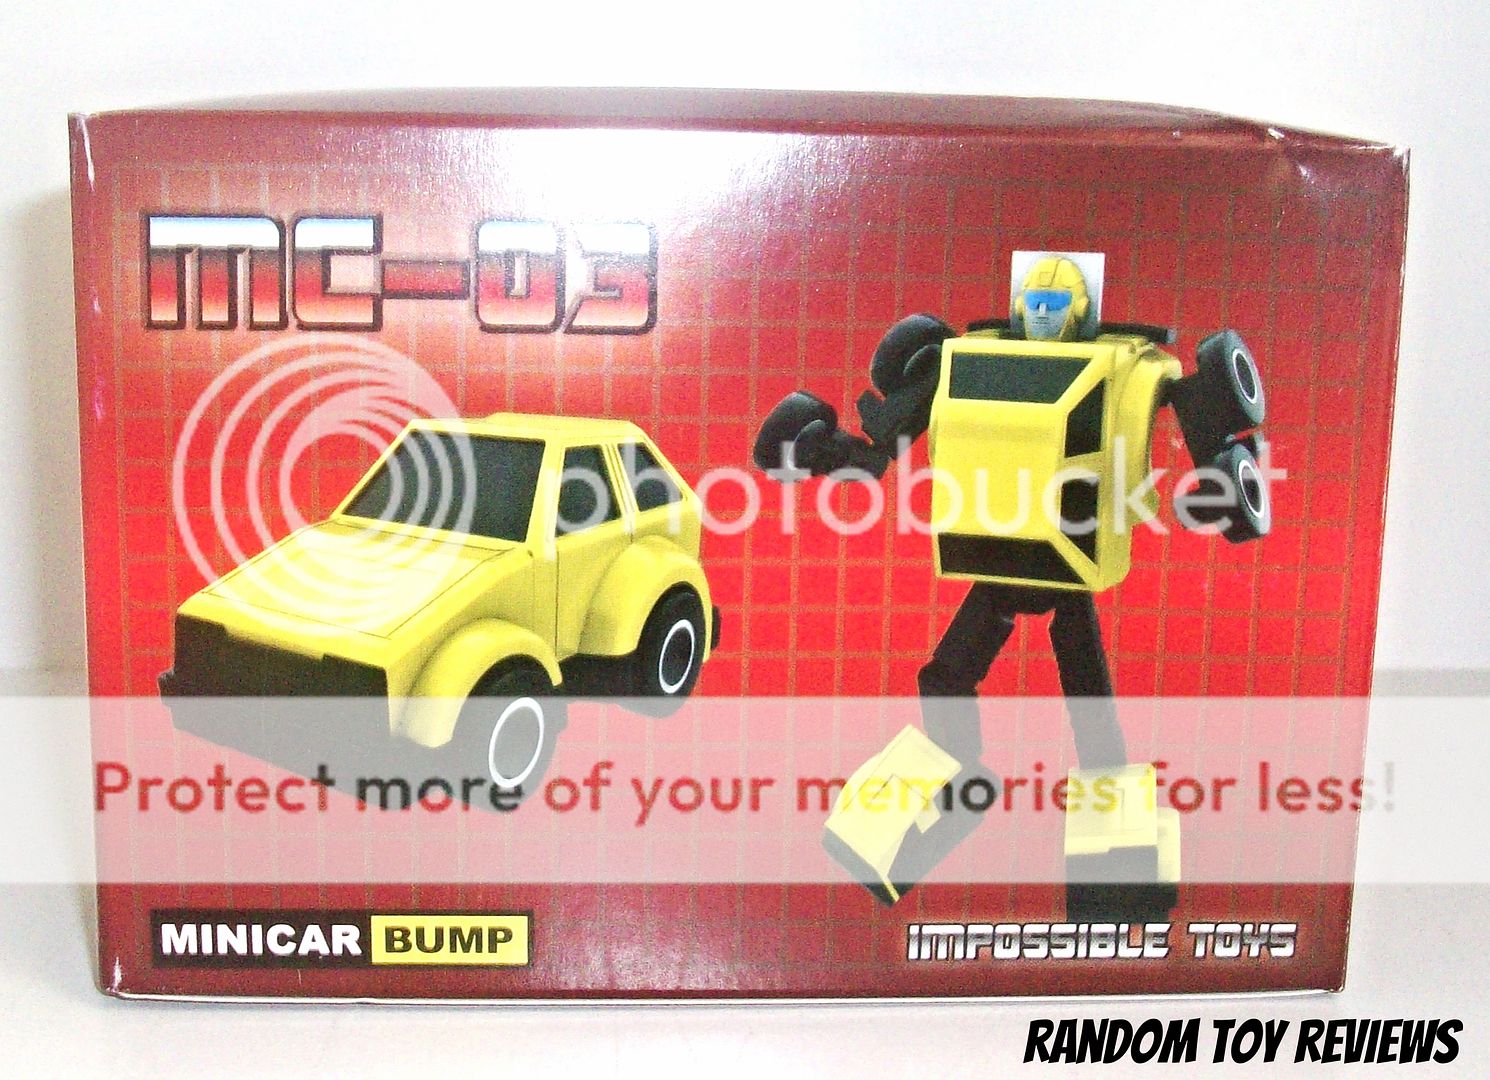
My choices of which Minicar to purchase were limited, so I went with Bump.  He obviously is Bumper from G1, one of the few G1 toys I've yet to acquire.  The packaging has that G1 feel to it, from the red, grid line background and the iconic Transformers font from the 80's.  The quality of the box is on the cheap side, but then again all of their packaging is printed on flimsy, thin cardboard.  Look at the image below and you can see a crease in the top right corner of the box from shipping.

Bumper photo 100_6834_zps4f8107b3.jpg

Bumper photo 100_6835_zps71f86ce8.jpg

Bumper photo 100_6833_zps49c57ae0.jpg

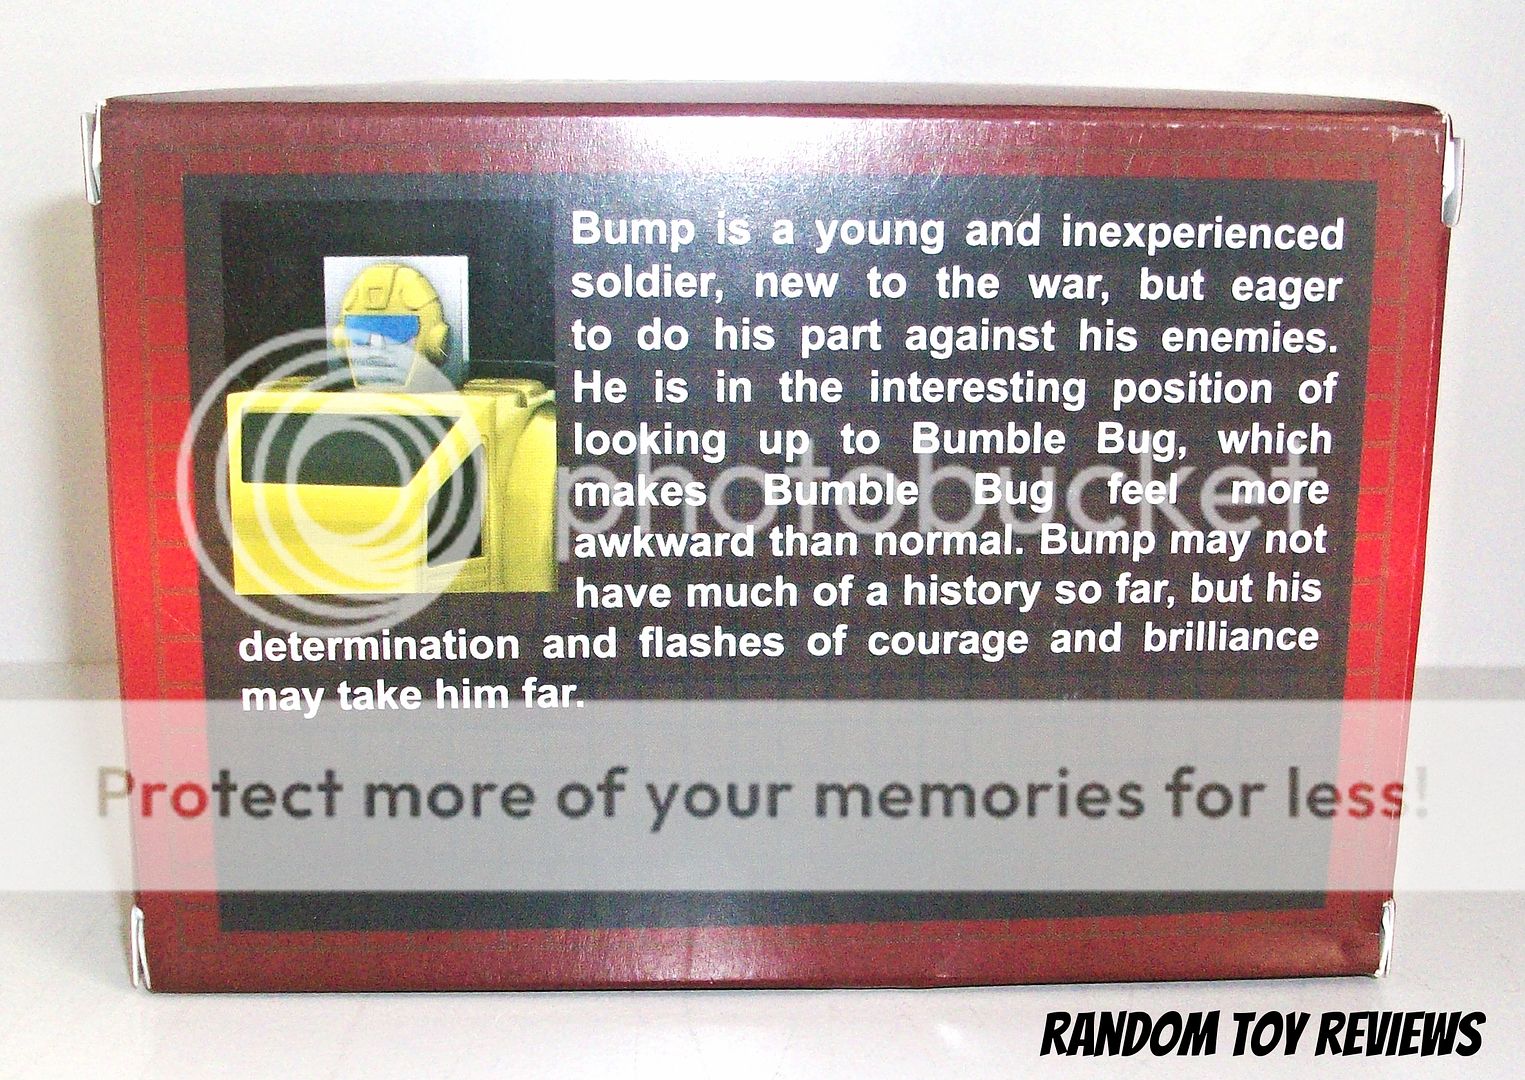
Overall the packaging presentation is some of their best to date.  Product images on all sides and even a new bio of sorts on the back.  No awards are needed here, but a suitable job none the less.

Bumper photo 100_6836_zpsc2ac7873.jpg

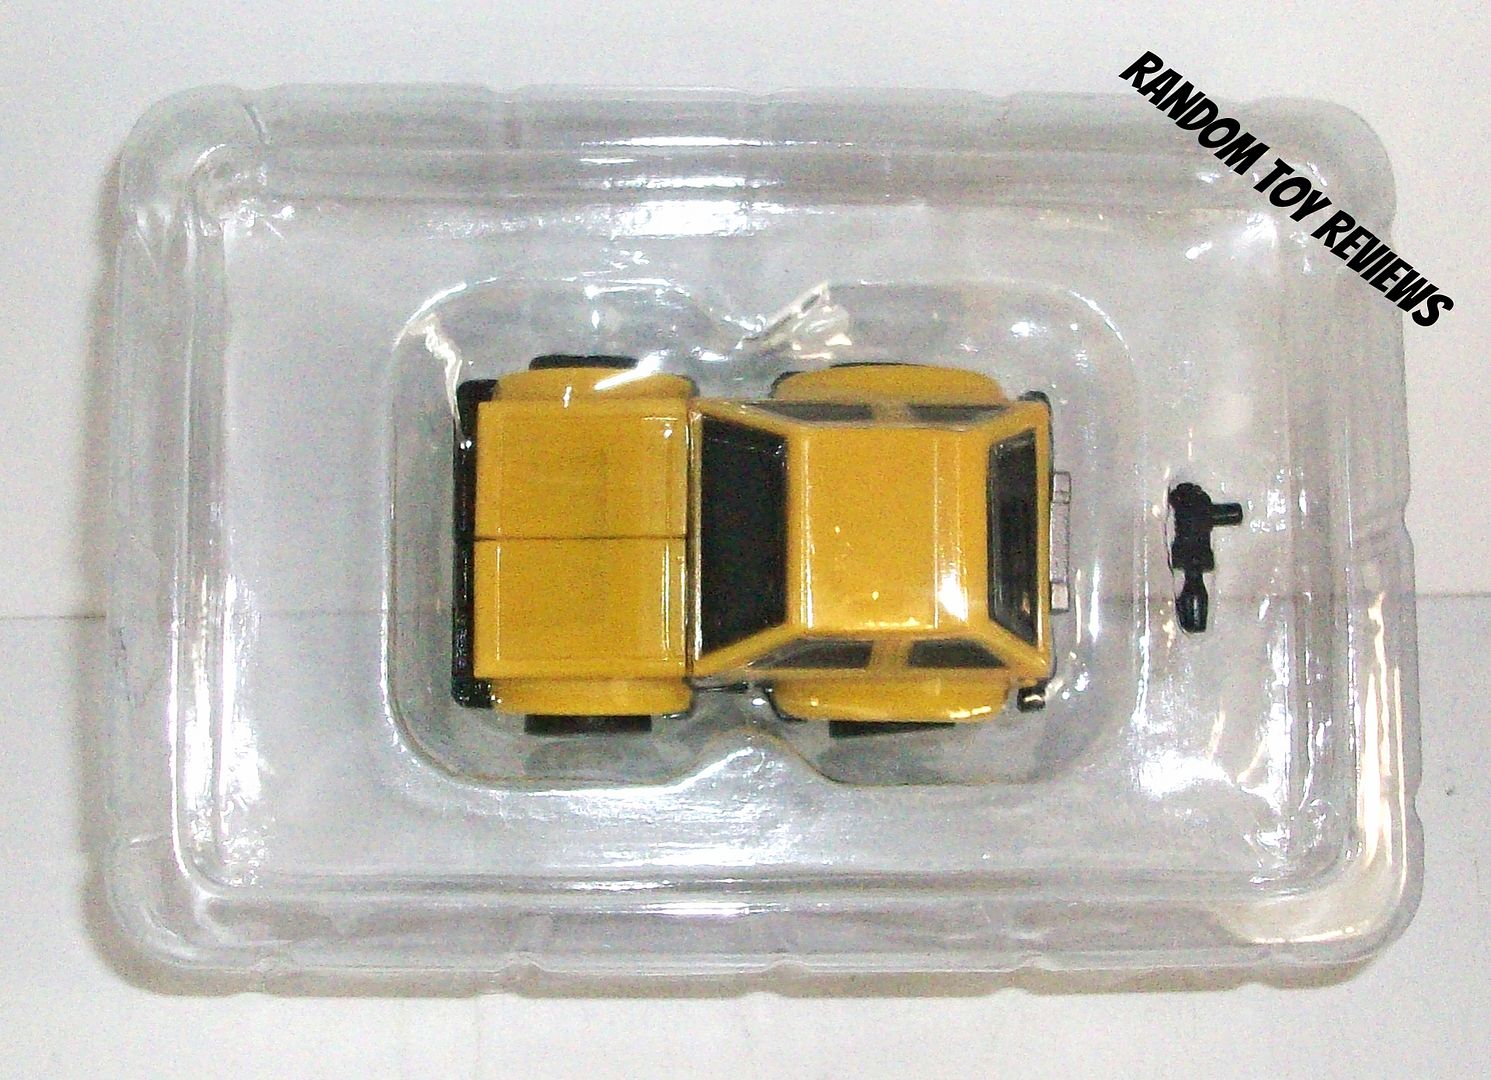
Impossible Toys molded plastic trays with removable lids to house each Minicar inside the box.  This is the only thing that really holds the outer box intact.  I was surprised when I slid out the tray to see a tiny gun packaged with the toy!  Bonus points for this addition.
Bumper photo 100_6837_zps2ff5bce9.jpg   Bumper photo 100_6839_zpsc0805500.jpg

Bumper photo 100_6838_zpsc865d613.jpg

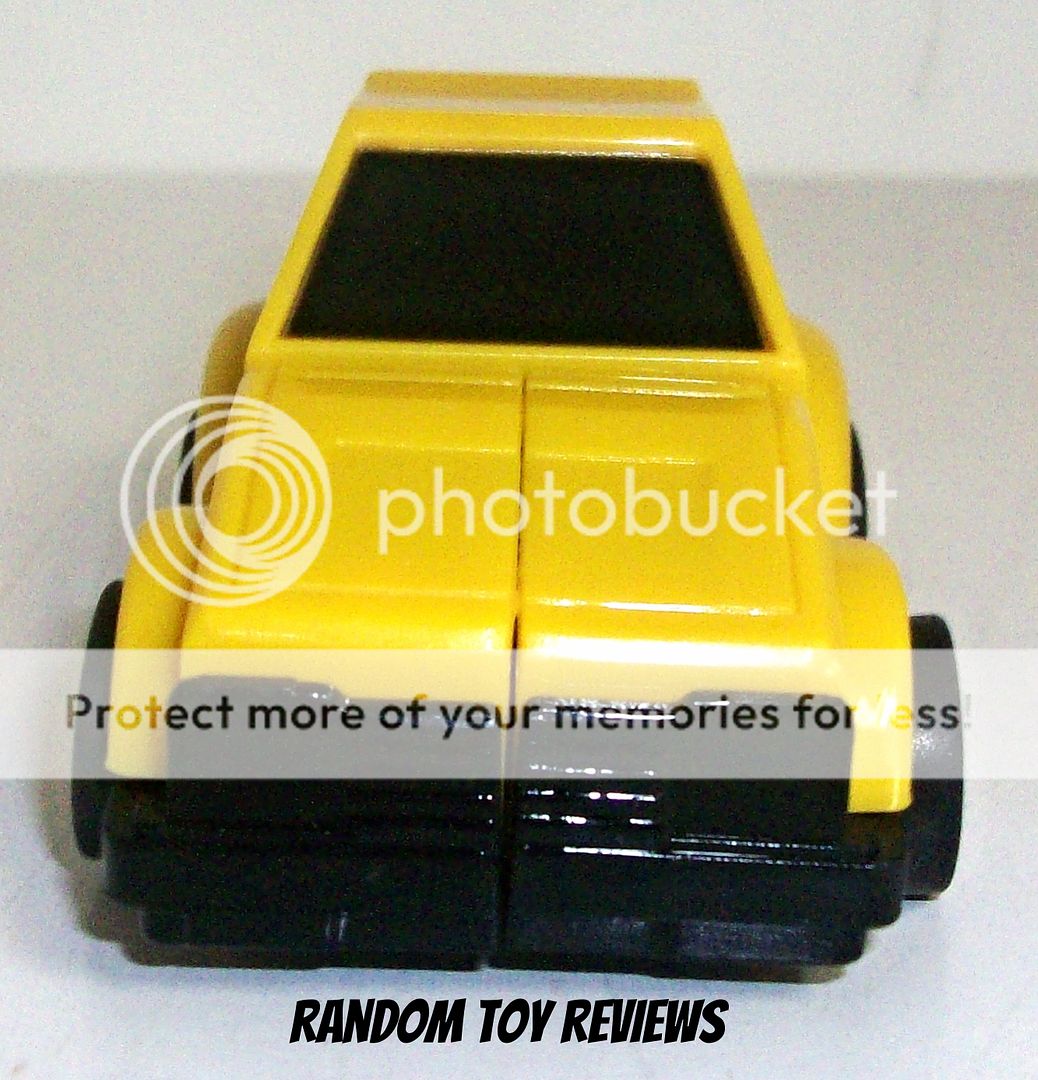
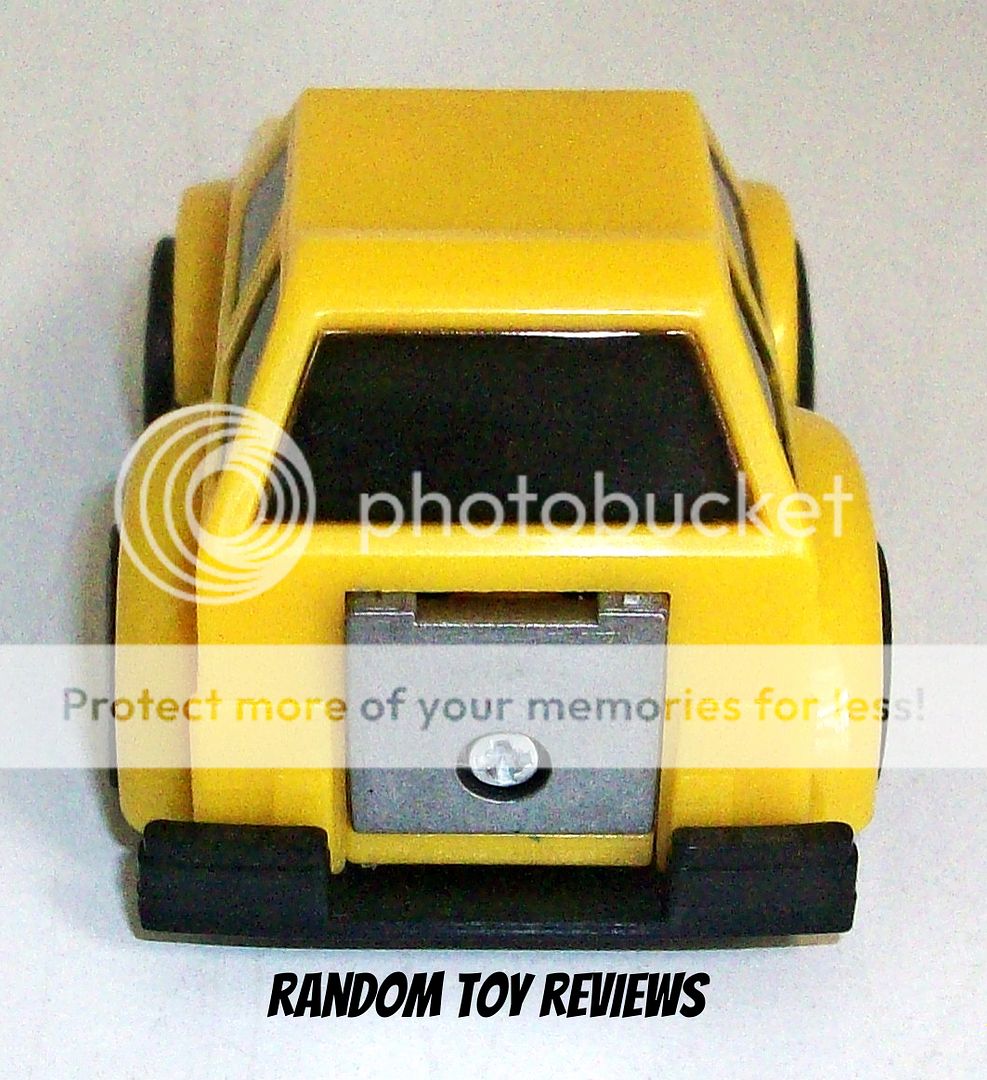
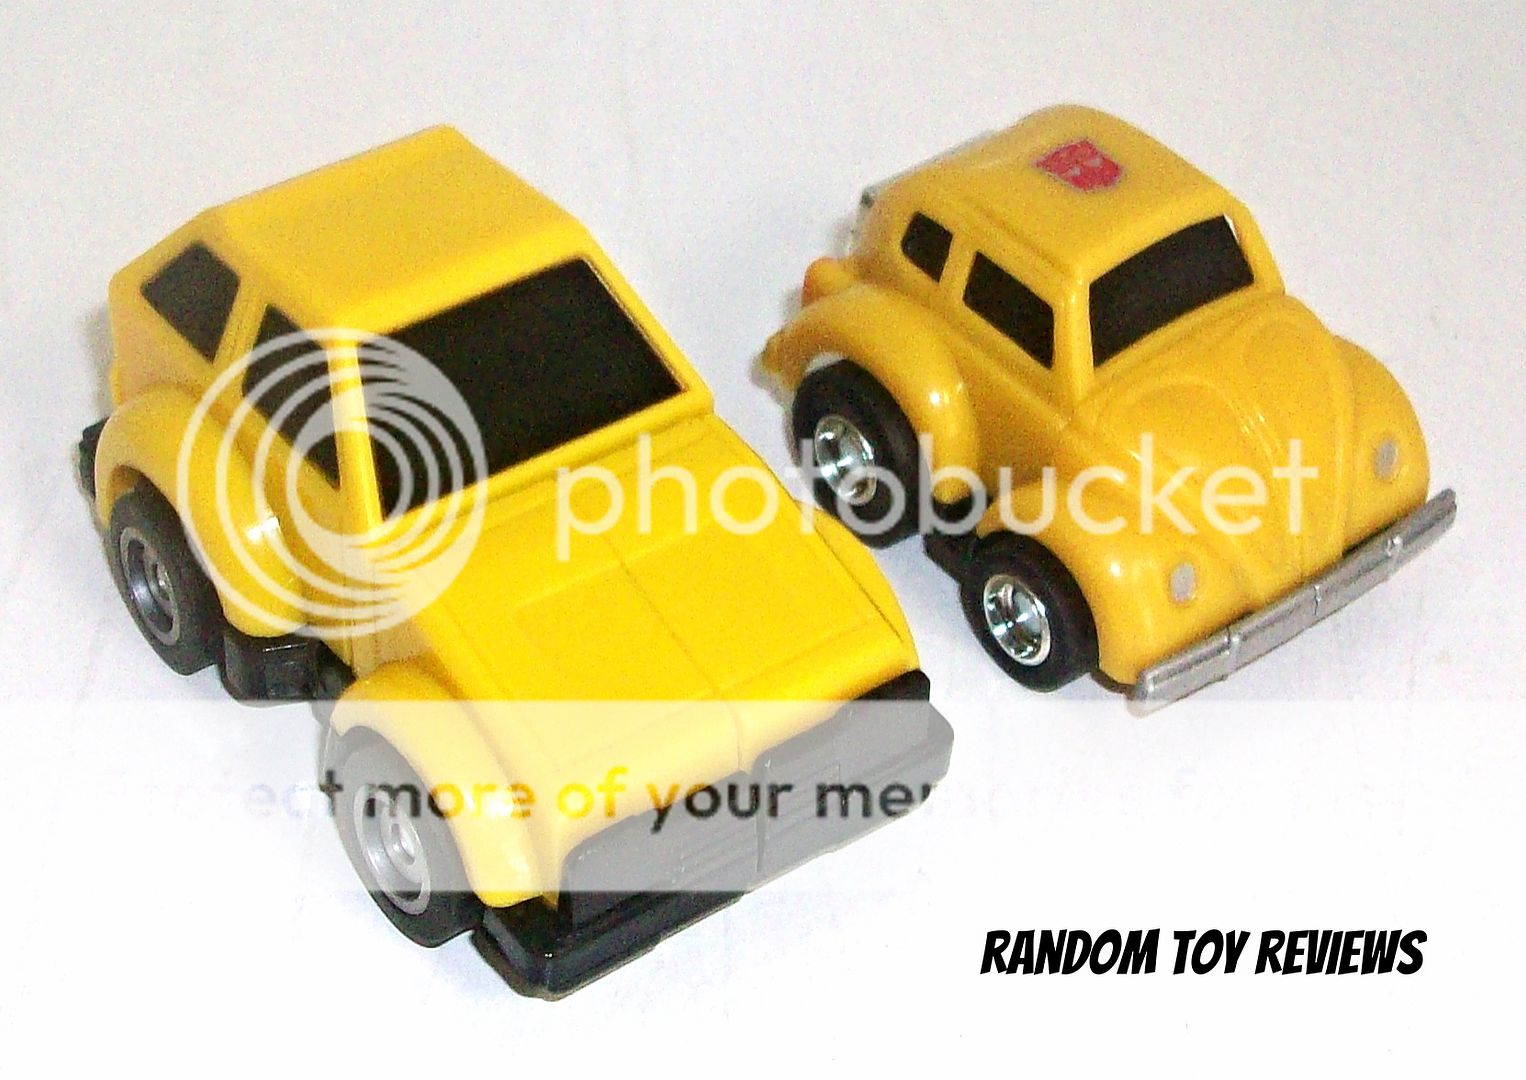
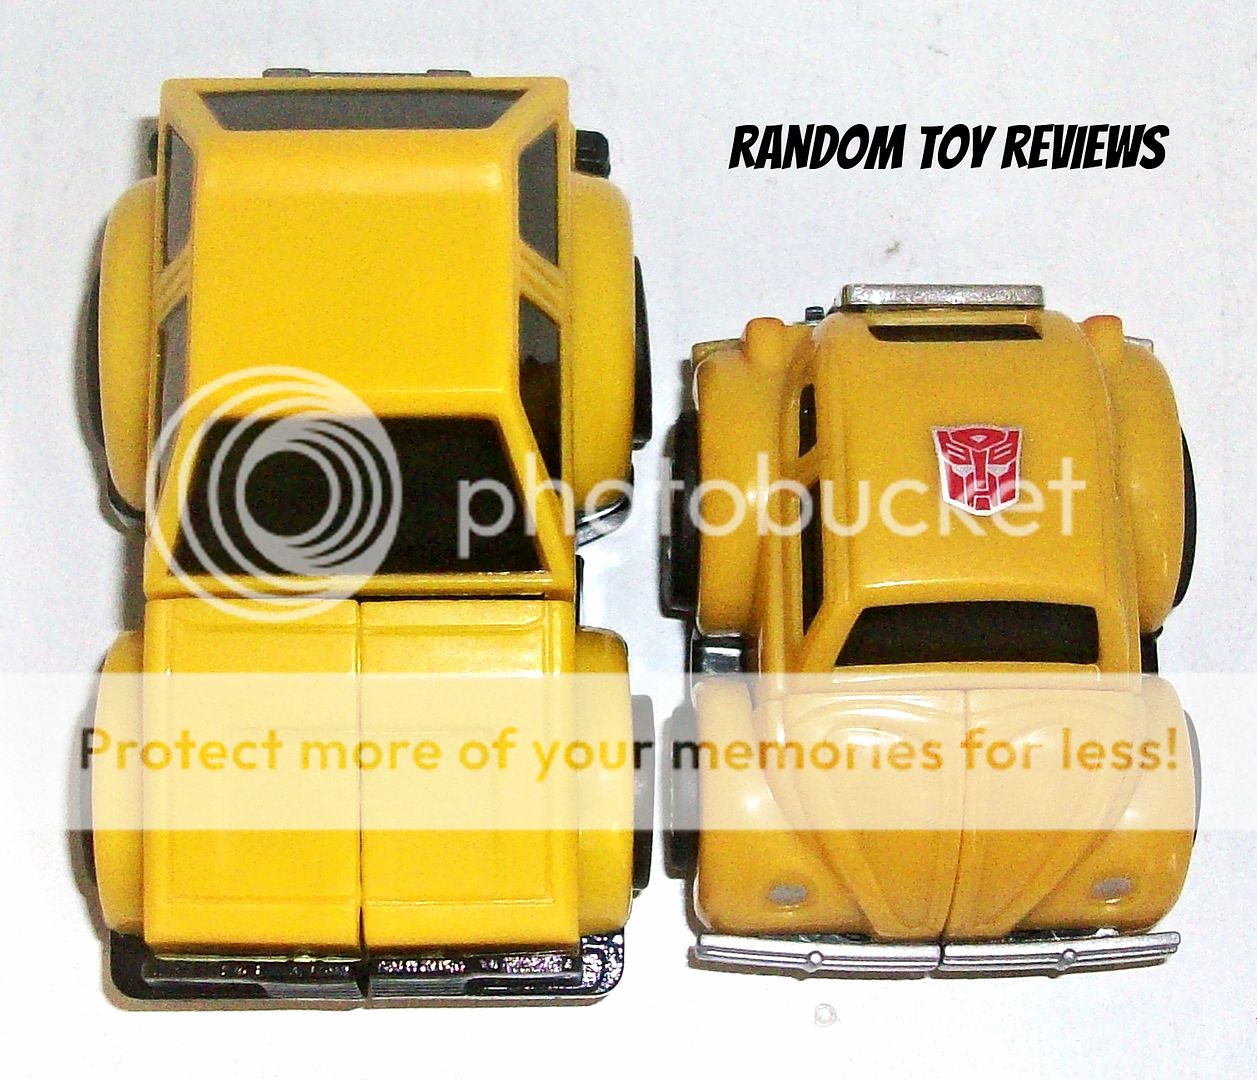
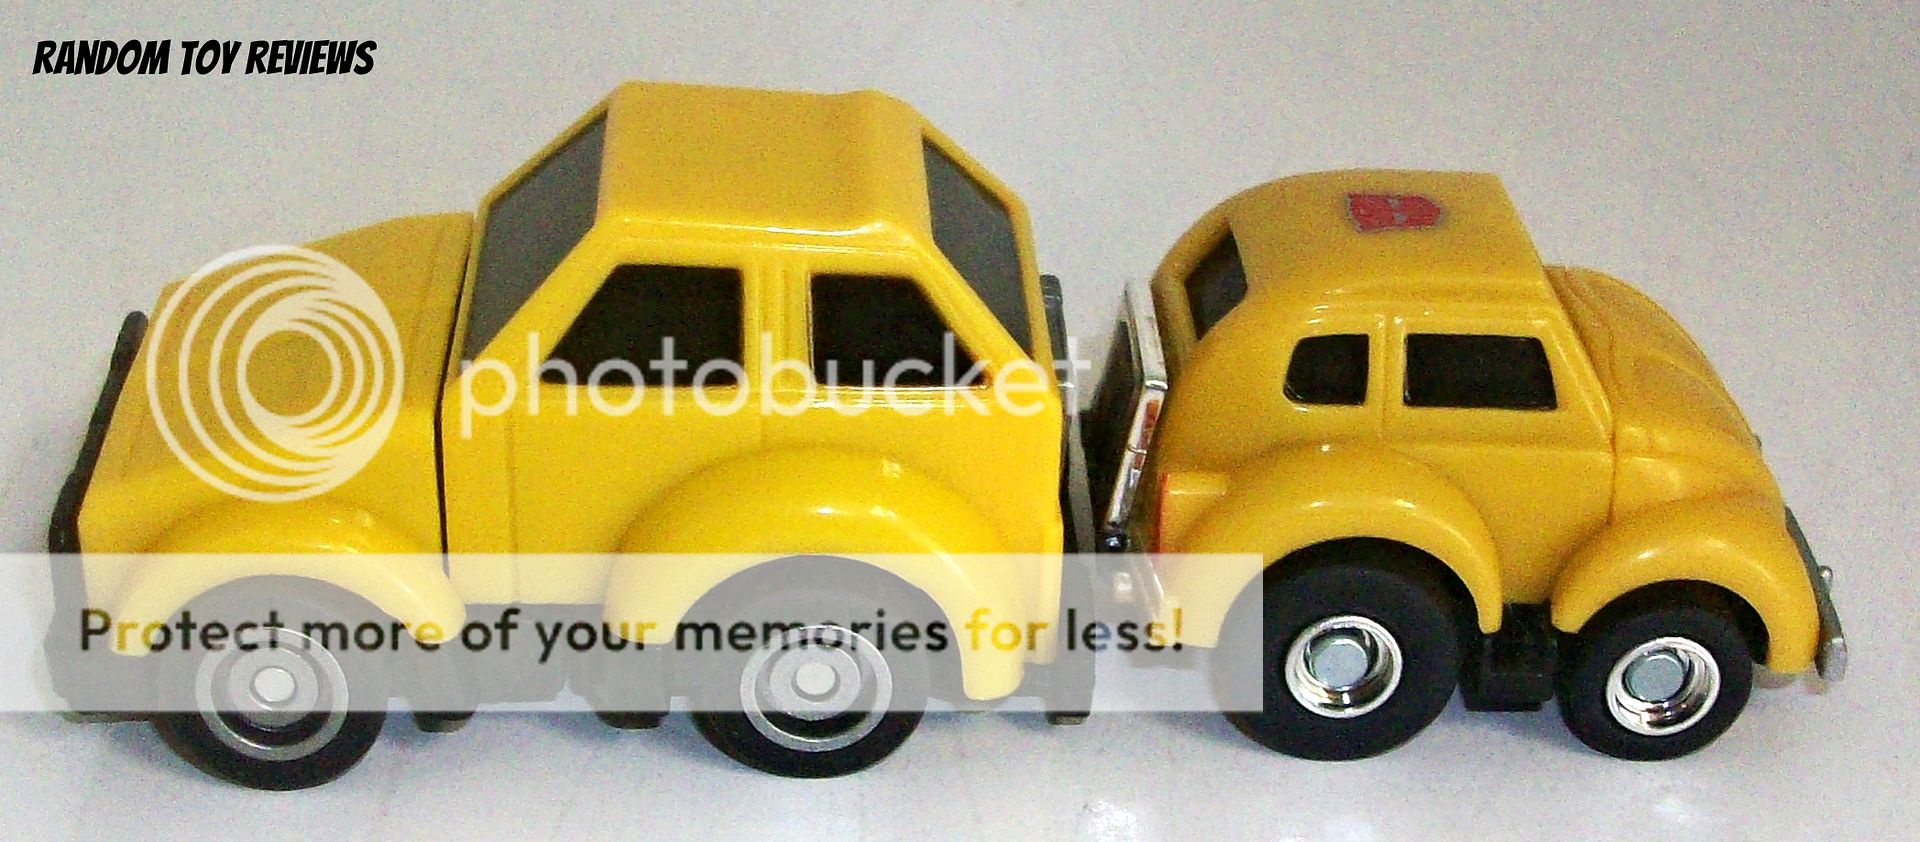
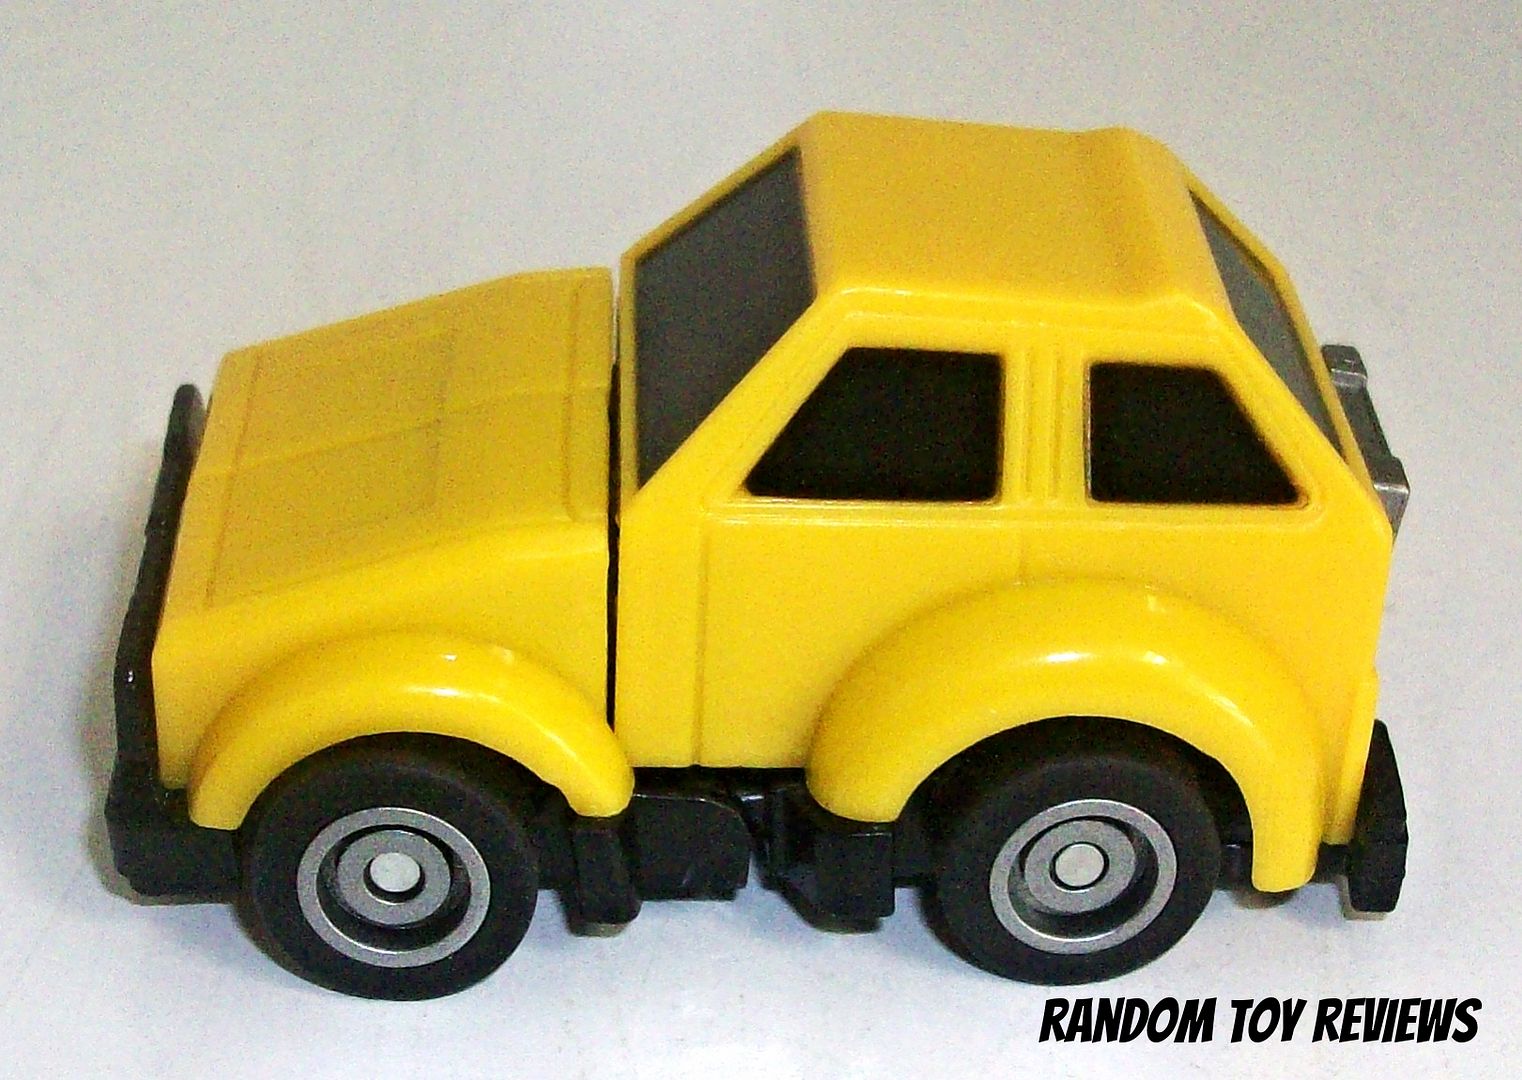
Out of the package the first thing I noticed was it's size.  These IT Minicars are much larger than what I had expected.  I'd say they are a chunky basic/scout size if I'm using modern toy terminology.  Bump retains his G1 look, from his blocky angles and rubber tires.  I will point out that gap you see in the front does disappear when you press in his legs.  My one complaint with vehicle mode is the exposed screw in the back.  He sorely needs a sticker to cover this up.  I may slap an Autobot symbol on there as I would be surprised if Reprolabels.com ever releases any sort of update set of stickers for these releases.

Bumper photo 100_6844_zps3debe8c2.jpg

Bumper photo 100_6845_zpsd33b247b.jpg

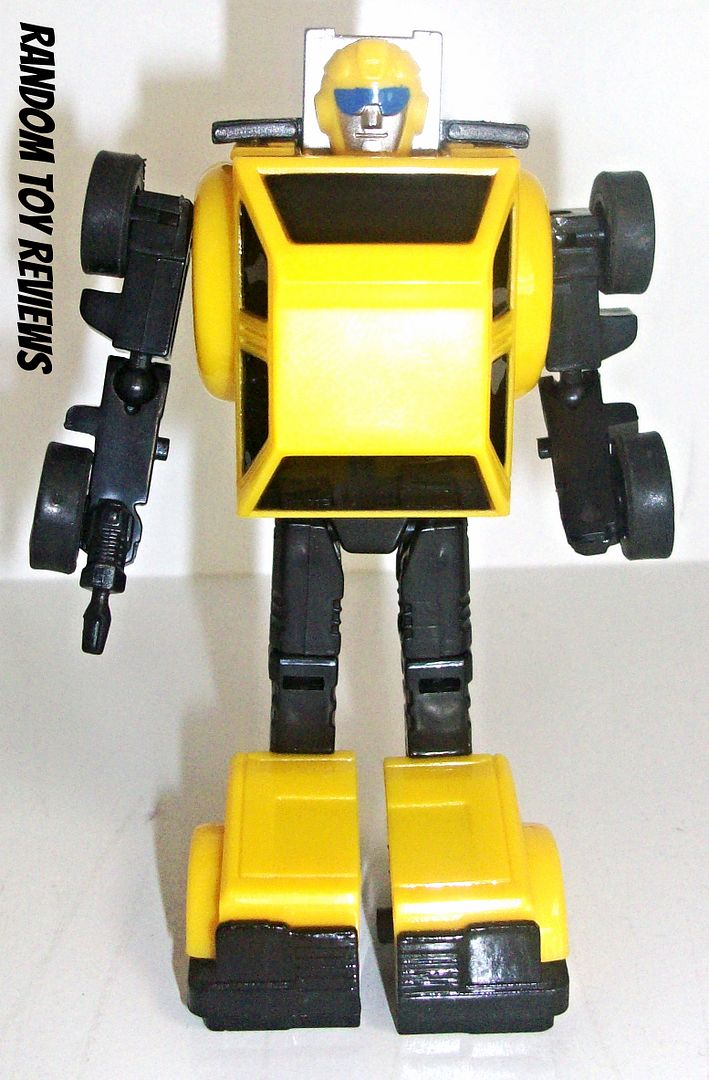
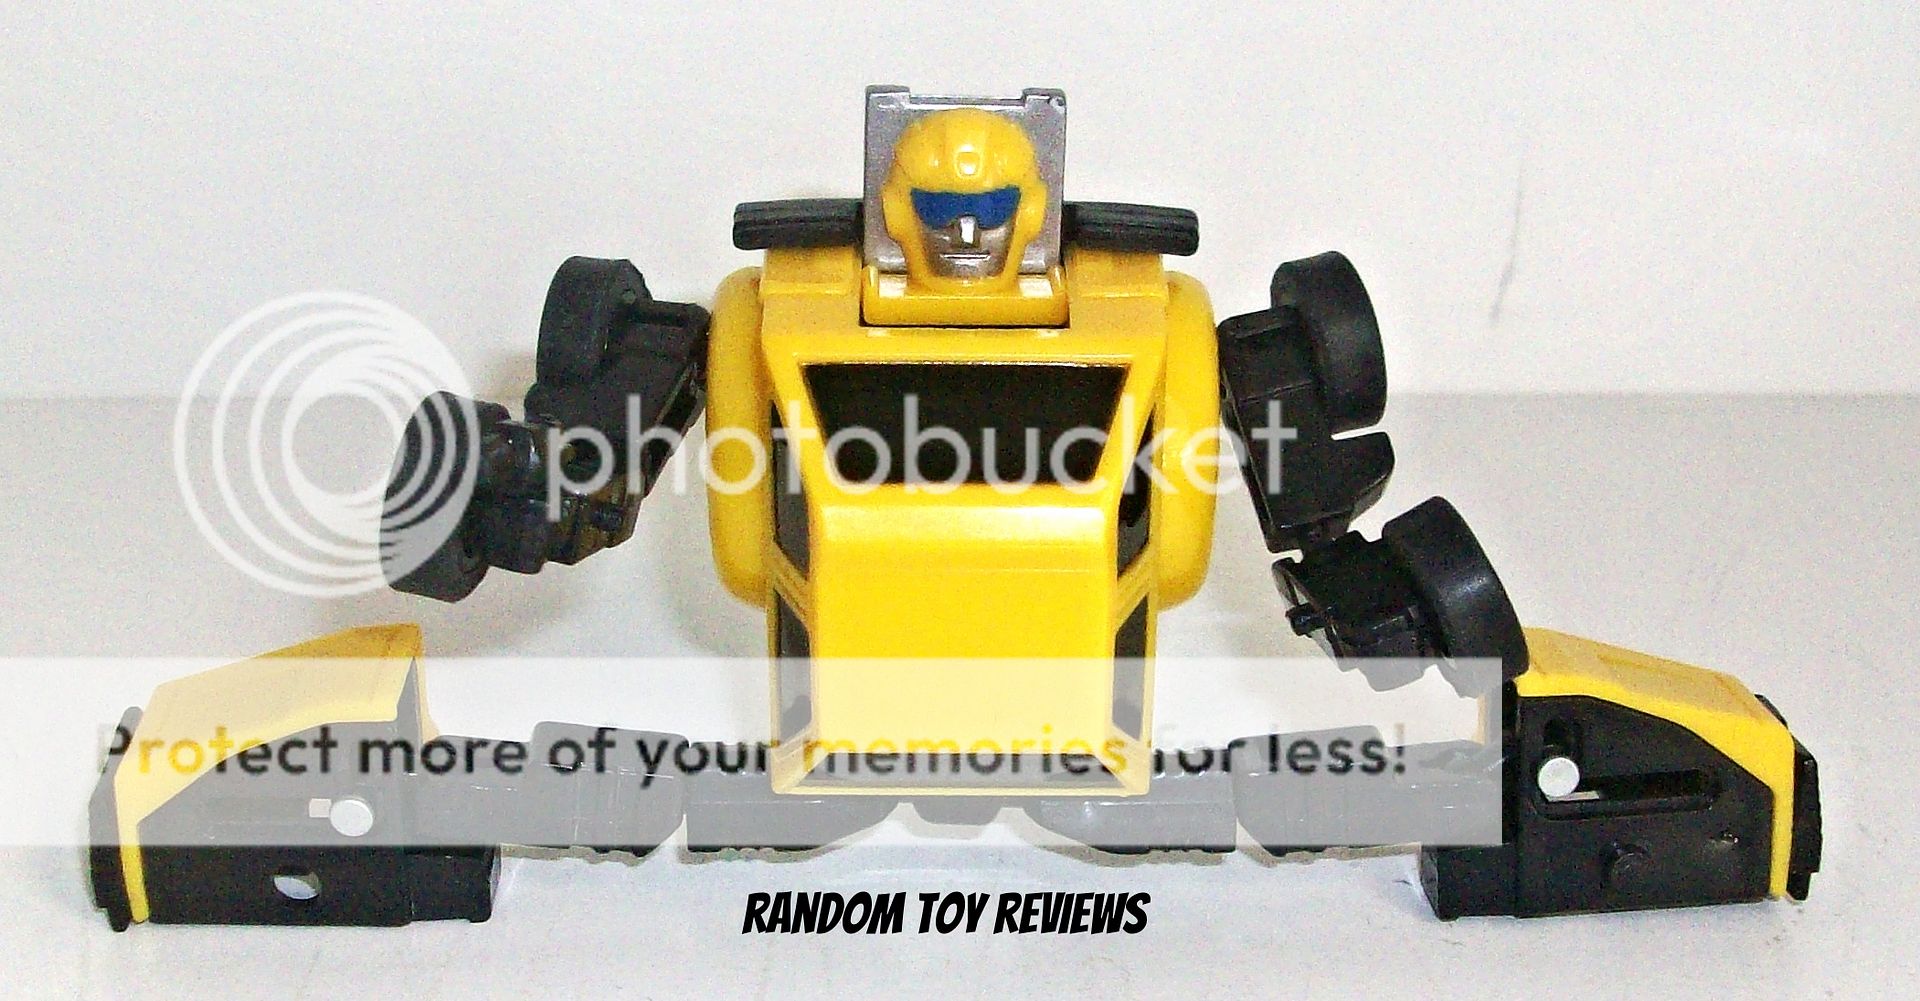
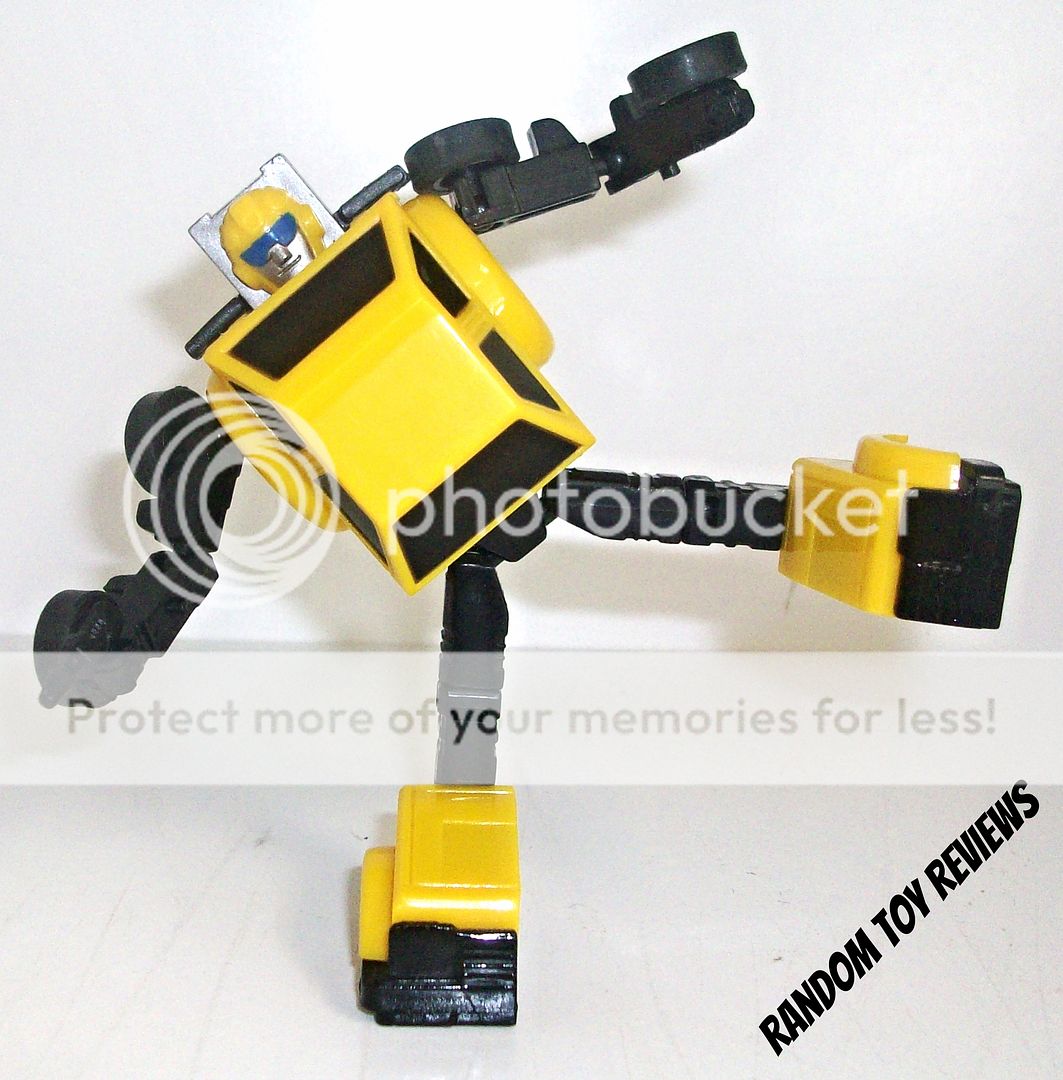
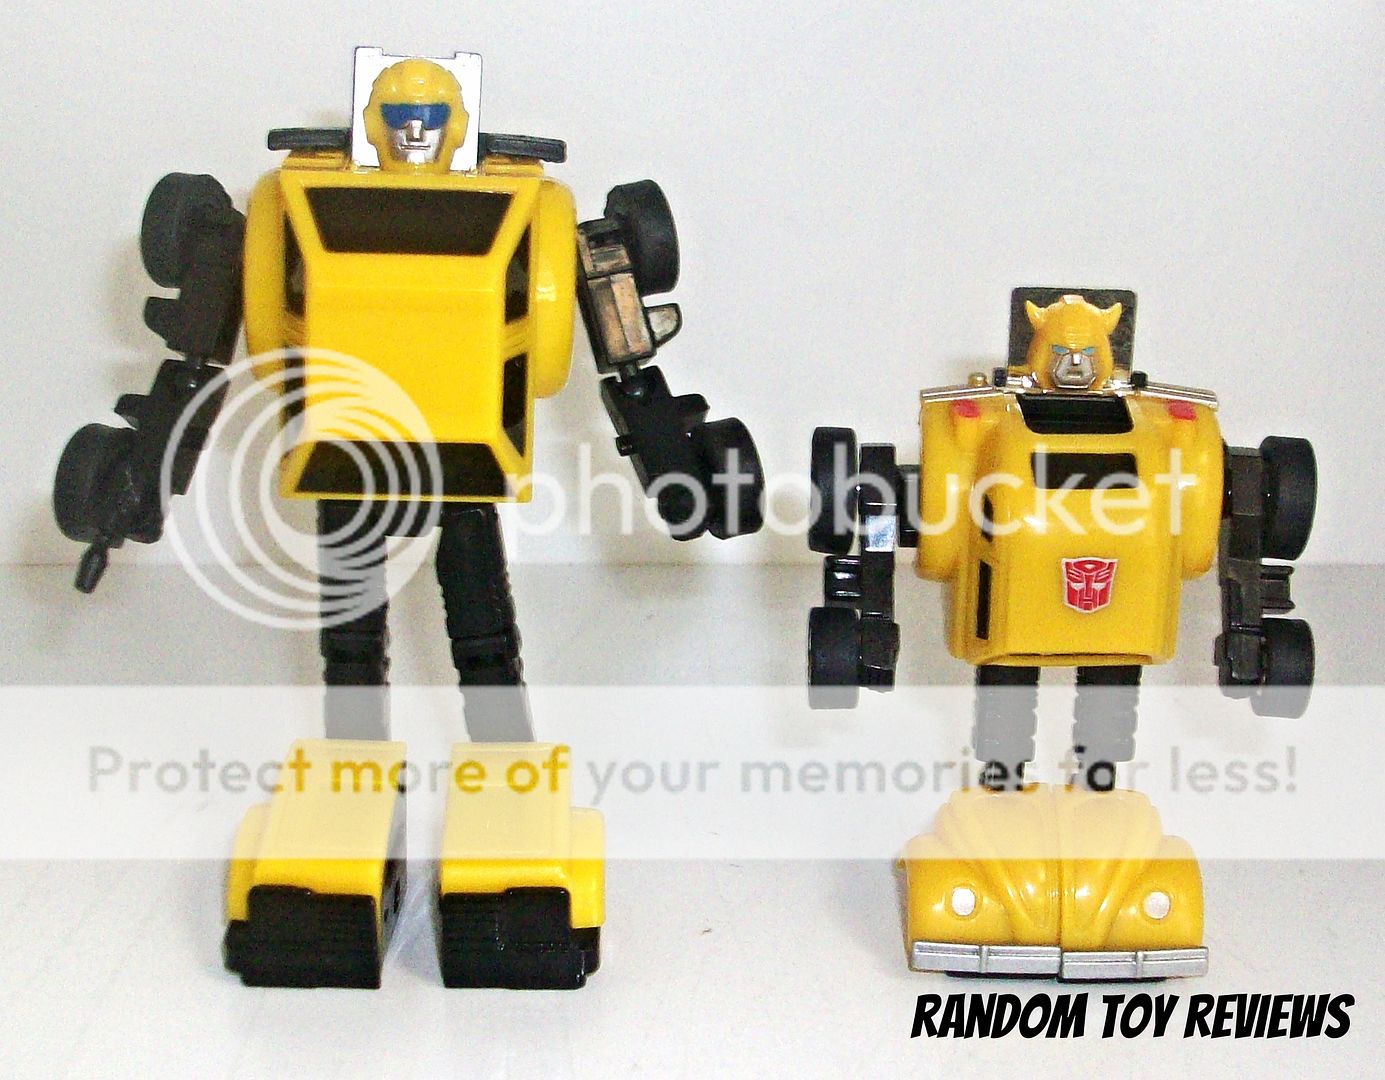
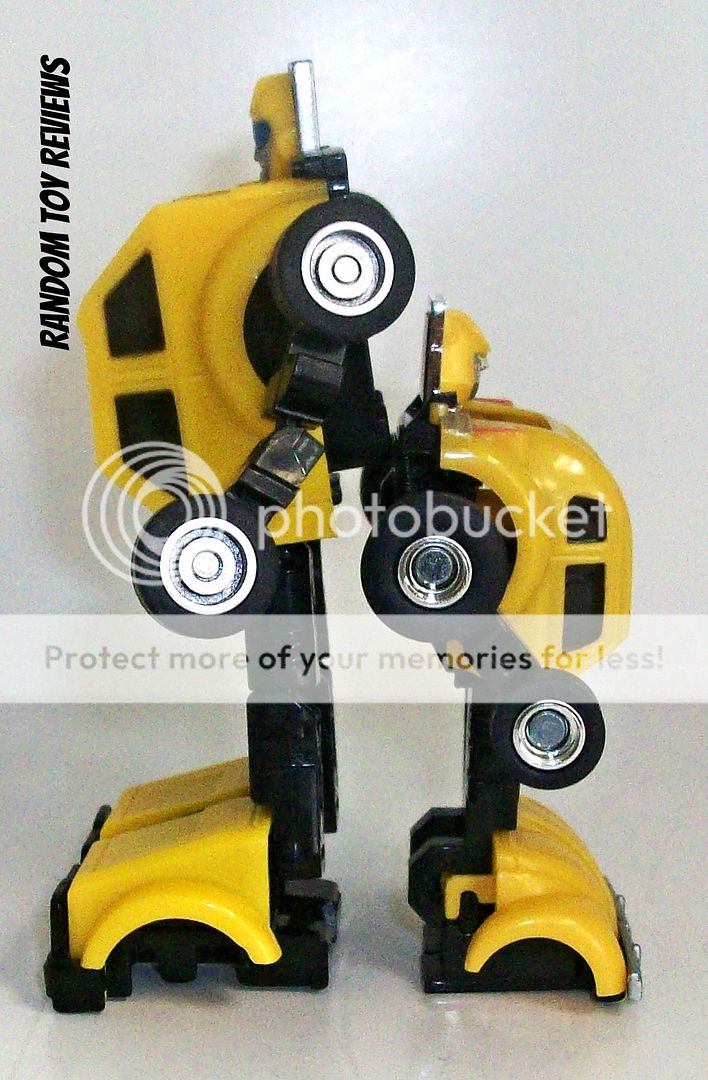
Transformation is pretty much the exact same as the G1 toy.  Flip up the head, pull down the legs and flip out the feet.  When you go to pull out the arms however, you'll notice they lift up as they now use a ball and socket joint.  While the transformation is close to the same, articulation is not.  IT did a good job giving these guys a few extra points of articulation that their G1 selves lacked.

Bumper photo 100_6847_zps4b61c7f6.jpg

Bumper photo 100_6846_zps6a2f843f.jpg

Can your G1 Minibot pull off poses like this?

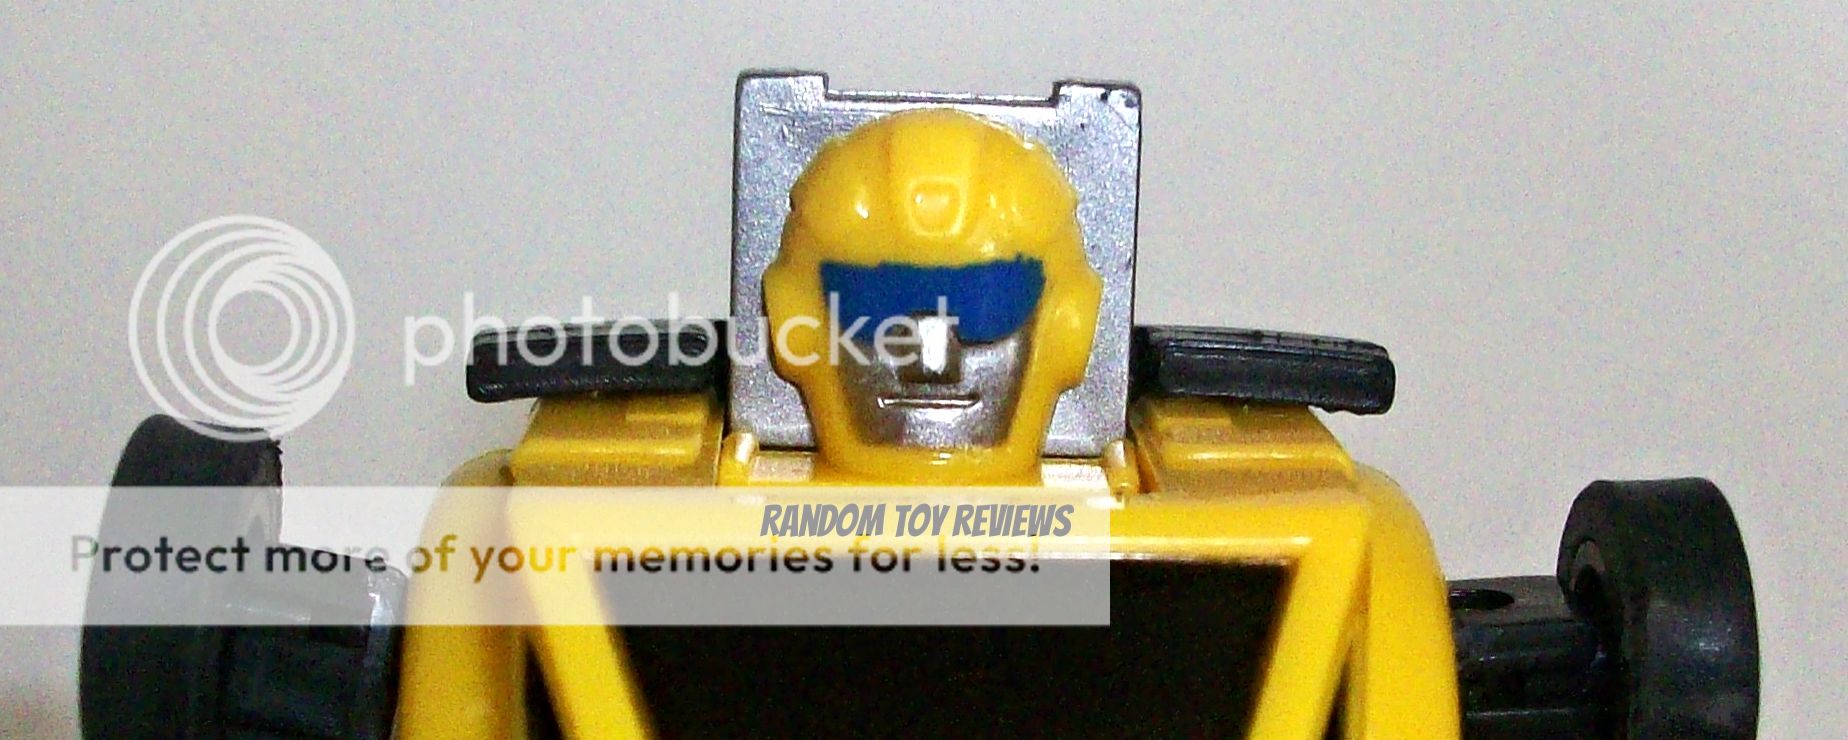
I found this to be a fun little toy to mess with.  Plastic quality seems to have been improved as it doesn't feel cheap or lightweight in hand.  You've got the look of a G1 toy with updated modern action figure articulation.  Throw in a great headsculpt a little hand gun and you've got a winning package.  I can't remember what these retailed for originally, but I only paid 15 bucks and at the price point it's pretty hard to pass up.  Check out BBTS to see what they still have left in stock if you are interested.

Now what kind of review would this be without comparison pics?  Now remember I don't own a G1 Bumper, so I grabbed my Takara TF Collection reissue of Bumblebee for the obligatory comparison shots.

Bumper photo 100_6841_zpsf11eade2.jpg

Bumper photo 100_6843_zps86def5df.jpg

Bumper photo 100_6842_zps657f2db6.jpg

Bumper photo 100_6848_zpsb38b5c28.jpg

Bumper photo 100_6849_zps8b0b5360.jpg

Please comment a I'd love to hear your experiences with Impossible Toys in general or just your comments about Bump or any of their other Minicars in the series.

Wednesday, August 27, 2014

New reviews coming, but until then more items added to my eBay store

Shameless plug I know, but my eBay store has kept me much busier than I originally thought it would.  I'm still working on listing items from a huge collection I bought several months earlier.  All of this has caused some delays obviously in me getting up new review content, but I've still got a lot of stuff in the pipeline I just need to put the finishing touches on.

Hang in there, new Transformers reviews and more are coming soon!

Wednesday, August 20, 2014

What are your thoughts?

A good friend of mine and fellow collector asked some good questions to the Transformer collecting community today on his blog, Mostly Transformers Redux.  If you've got a second or two, I encourage you to read his blog and comment.

Thursday, August 14, 2014

Transformers Age of Extinction: Bumblebee & Dinobot Strafe (Walmart Exclusive)

This is the ONLY time you'll see an Age of Extinction toy on this blog.  I hated the movie with a passion.  There was very little in the movie that I found I was OK with.  Needless to say the only movie toys I've bought up until now have been 3 of the deluxe Dinobots, and I only bought those to have something new to open and fiddle around with.

When the first images surfaced online of the 3 new Walmart exclusive two packs featuring a hodgepodge of molds I'm sure I wasn't the only one that was sitting there scratching my head.  Hasbro broke out the Beast Wars basic mold used for Terrorsaur (and other repaints) as Strafe?  Energon's Cruellock was being used as Grimlock?  Beast Wars Guiledart as Slug?  This seemed to come completely from left field.

Bumblebee and Strafe photo 100_6818_zps529d7649.jpg

While I really wasn't looking for these per se, I did see on Facebook a sighting had been made somewhere in the country as a Walmart was doing a reset, I presume their fall reset.  Conveniently enough I found myself at Walmart late last night picking up some things for my wife.  One of the advantages of shopping your local Walmart late at night is the crowds are non-existent!  This is also when the pallets are dropped all across the store for the workers to re-stock the shelves.

Bumblebee and Strafe photo 100_6819_zps7d1c63ac.jpg

Just outside the toy department I found 3 pallets stacked full of new toys.  I walked around all 3 and was just about the leave when one box on the bottom of the stack caught me eye.  It read 'TRAS4 LEGION ASST'.  I carefully slid the box out from underneath the stack so I could take a peek inside.  Bam!  The new Walmart exclusive 2 packs were found.  By the way, I'm in the upstate of South Carolina, just south of Charlotte, NC.  The case assortment if anyone cares is as follows:

- Stinger & Slug x2
- Optimus Prime & Grimlock x3
- Bumblebee & Strafe x3

While technically G2 drew me back into collecting Transformers again in the 90's, Beast Wars really brought me back into the fold.  I decided to grab the pack w/ Terrorsaur I mean Strafe just for kicks.  If you're still reading along here with go w/ the pictures of the actual toys!

Bumblebee and Strafe photo 100_6820_zps542e8977.jpg

As you can see here we have a slightly repainted Dark of the Moon Legion class Bumblebee and a repainted Beast Wars basic Terrorsaur.  As I already mentioned, the latter is my reason for purchase.

Bumblebee and Strafe photo 100_6821_zpsa036afaf.jpg

I always was a fan of the flipformers from a few years back.  Nothing has changed here.  If you are familiar with any iteration of this mold, then you know what you are getting here.

Bumblebee and Strafe photo 100_6822_zps656e8f27.jpg

Strafe here does keep some of this movie markings from his deluxe toy.  Overall I have to say that it looks pretty nice.

Bumblebee and Strafe photo 100_6824_zps57611513.jpg

What caught me by surprise was the stamp underneath one of the wings.  You can see the original 1995 Hasbro/Takara markings, but above it now has a 2013 Hasbro Tomy stamp.  Hmm.

Bumblebee and Strafe photo 100_6825_zpsc7c3185c.jpg

To transform Strafe from dino to robot you simply pull up on his head and he basically unfolds into a robot.  Again, nothing has really changed here from the previous releases.  Overall it appears that the mold isn't showing any signs of degradation, but the ankle joints are loose.  If memory serves me correctly, ever other version of this toy that I've owned also had loose ankle joints.

Bumblebee and Strafe photo 100_6826_zps549bb0f6.jpg

Bumblebee and Strafe photo 100_6827_zps16dd1856.jpg

Articulation is pretty good for a mid 90's Transformer.  Ball joints are present in the shoulders, elbows, hips and needs.  Pivot joints are used for the feet/ankles.  I'm not the most creative when it comes to posing my toys, but here you go.  I will point out that some assistance may be needed when posing and standing the figure.  The dino kibble makes him back heavy and with the weaker ankle joints he does tend to want to fall over.  I'm sure this could be remedied rather easy with some clear nail polish.

Bumblebee and Strafe photo 100_6829_zps6c3718cb.jpg

Strafe's packed in partner is Bumblebee.  Like there aren't enough versions of this toy, let alone the character already.  This is the Legion class toy first used in the Dark of the Moon movie line of Transformers.  At first I thought it was the same as before, only with some white paint being slopped on the face.  Then I transformed him...

Bumblebee and Strafe photo 100_6830_zps58efc058.jpg

I don't recall the windows being painted like this.  Bumblebee now almost seems to have "cartoon" colored windows.  Whatever, I'm giving this toy to the little boy my wife has watched for the last 2 years.  My wife is starting a new job so after this week we won't have him or his sister at our house.  I'm sure he'll be thrilled to have this toy...and no I wasn't being sarcastic.

Bumblebee and Strafe photo 100_6828_zpsd3f161ec.jpg

Size comparison.  I really wish Hasbro would bring back the basic class of toys.

Bumblebee and Strafe photo 100_6831_zpse8729733.jpg

These Walmart two packs retail for $15 each.  While I feel that price is a little high for this set (as opposed to Stinger & Slug which seems to be a better value), this set still has a lot to offer.  I know this isn't Terrorsaur, but I still dig this mold and the blue and black look terrific.  3 out of 5 Duocon thumbs up.


Wednesday, August 6, 2014

Say Hello to...

To say this project has been a long time coming is an understatement.  Let me take you back to 2006 where this all began...or at least the idea.  I had purchased a junk lot of Transformers from a Yahoo! Japan auction for cheap.  I don't remember what all was in that particular lot, but one in particular caught my eye.

February 2013 photo February2013180_zps1d09681c.jpg

Here is an old collection photo.  Can you see the TF that I'm eluding to that was in that junk lot?  Do you see one in particular that is missing it's stickers and incomplete?  To the left.  The one that looks like the Protectobot's Hot Spot.  You got it.  That's none other than Fire Chief from the sought after, very elusive Operation Combination TF-04 Guard City.

At the time I was psyched about having a piece of such a rare toy in my collection.  The Protectobots are my favorite combiner team from G1 so ever since I learned of Guard City's existence I've wanted that toy.  However there was one small problem.  If I could find the TF-04 set I most likely wouldn't be able to afford it.  So what does a father of two that barely can afford to keep up with collecting modern day Transformers do?  I get all crafty.  (This is where I suppose you cue Weird Al's "White and Nerdy" song)

I had always wanted to make my own Guard City after I acquired Fire Chief, but two of the four other figures were different enough that I wasn't sure how to tackle the project.  I eventually gave up the idea until a few weeks ago.  I'm not a customizer.  I do enjoy tinkering around w/ painting and such, but I'm not very skilled nor do I own the necessary equipment to knock out fantastic looking toys.  My only previous experience painting toys came many years ago when I "Cobra-ized" a G.I.Joe A.P.C. vehicle.  I thought the project turned out really well, especially since it was my first attempt.  I knew painting a toy with moving parts would be a tougher task, but now I was equipped with friends that had the experience and knowledge that I could sponge off of.  I reached out to my good buddy Arkvander and told him of my idea of the project.  I asked him if I was crazy to attempt this and if he thought it would be doable.  He gave me two thumbs up and his support.  I immediately asked if he would use his air brush skills he learned while painting Charticon's Aftershock last year to help convert Blades into Fly Up.  Thankfully he agreed to help.

Guard City photo IMG_1016_zps979c01e9.jpg

This is the fruit of my labor.  The team.  I'm super excited about how well these came out.  I love the original Protectobot colors, but there is just something about the red on Fire Chief and the blue on Fly Up that make this set so dang attractive.

Guard City photo IMG_1015_zpsa96fab39.jpg

A lot of the stickers used for Guard City are different from the ones used for Defensor, however I did order a set of Reprolabels to freshen up the five toys.  I'd love to complete the look with other stickers, but that will have to wait for now.  But how long will I have to wait?  Hmmm.

Fire Chief photo IMG_0987_zps09eaecae.jpg

Did you know the round black hose on the side were removable?  Neither did I!

Fire Chief photo IMG_0989_zpsb813aa92.jpg

Fire Chief photo IMG_0988_zps9d43761d.jpg

Let me reiterate, this is a vintage Fire Chief toy.  This is one of the few from the set that I really didn't have to alter.  I did take a pair of black hoses from a junker Hot Spot body since Fire Chief's were missing and I freshened up his fireball stickers and his one lone Autobot sticker.

Fire Chief photo IMG_0991_zpsa27ac497.jpg

So what's your favorite version of the mold?

Fire Chief photo IMG_0990_zps56ea31b3.jpg

The only thing I may change on Fire Chief is the ladder.  Once I did the comparison shots I noticed that his ladder is a little yellowed.  I have a junker Hot Spot that I think I can easily swap out the part, but for now I'm happy with what I have.

Fire Chief photo IMG_0993_zpsbe0254aa.jpg

Fire Chief photo IMG_0995_zps2a394ad9.jpg

Fire Chief is really bland looking without his stickers, but have I mentioned how I love the red?  Now the neon orange chest plate is a different look, but in hand it's not as garish as my pictures may make it look.

Fire Chief photo IMG_0994_zps145fe13b.jpg

I will mention that Fire Chief doesn't have near as many stickers as Hot Spot does and I'm glad.  Less is more in this case.  The two figures are the same height by the way, I just forgot to fully extend Hot Spot's legs.

Fly Up photo IMG_0996_zps3cbf595c.jpg

Fly Up photo IMG_0997_zpsb16eef68.jpg

Fly Up was the biggest challenge, but thankfully Arkvander came through for me.  I disassembled Blades as much as I could.  I purchased a shade of blue Testors brand paint I thought that would work and dropped it off in Arkvander's capable hands.  Turns out the color I bought was too dark and too thick, so he had to strip the toy and start over with a different shade of blue.

Fly Up photo IMG_0999_zpsffa9b9b4.jpg

Thankfully the second time was the charm.  I can't believe how great this came out.  A little paint came off with the painter's tape I had used to cover the front windows, but I could care less.  I added new stickers to the sides and a new Autobot symbol to the helicopter's nose to finish things off.

Fly Up photo IMG_0998_zpse5199322.jpg

I usually go with red over blue, but again the simple color swap goes a long way here and makes this mold look really good.  I'm just glad the wheels and rotor blades stayed the same!

Fly Up photo IMG_1000_zps94c7f8dc.jpg

The other roadblock to speak of with Fly Up was the robot's chest piece.  Trying to match the neon orange used on Fire Chief wasn't easy, but I think I came close with this shade of Model Masters I found at Hobby Lobby.  Of course having the original stickers would go a long way here, especially since the stickers cover up the two screws on the chest.  Once I got him reassembled I noticed it looks as if he is wearing a life jacket.  I wonder if that was done on purpose or just a coincidence?

Fly Up photo IMG_1001_zps2c7ecc44.jpg

In my opinion there is no contest here as to which version looks better in robot mode.  Which do you prefer?

Safety photo IMG_1002_zps1fc0c53f.jpg

Up next is my favorite mold in the set, Safety.  As you can tell this is an altered version of First Aid.  In vehicle mode there really aren't many noticeable differences as Safety and First Aid share the exact same stickers.  I had to clean up the toy a bit to restore some of the white's brightness and I added new Reprolabels.

Safety photo IMG_1003_zps688a7952.jpg

Other than the small bit of orange that you can see from underneath, these two are nearly identical.  Of note however is the lack of the rub symbol.  None of Guard City's members have rub symbols.

Safety photo IMG_1004_zps5e378e4a.jpg

As with Fly Up, Safety's chest piece is the same shade of orange.  This was an easy fix as I could knock out painting both chest pieces at the same time.  He too looks a little naked without his stickers, but again I hope to address that sometime soon.

Safety photo IMG_1005_zps40886429.jpg

I always loved the First Aid character.  I wonder if Safety shared First Aid's pacifist nature?

Sparkride photo IMG_1006_zps24c567ed.jpg

Sparkride is probably the dullest of the group.  Sparkride and his U.S. counterpart, Groove, are basically the same.  Minus the rub symbol on the windshield and the stickers on the side of the gas tank, Sparkride and Groove are the same.

Sparkride photo IMG_1007_zpsfd78ea89.jpg

I remember getting Groove as a birthday gift from my parents when I was growing up and how excited I was.  Then I opened up the toy.  This mold still fails to excite me, even with a few different looking stickers.

Sparkride photo IMG_1008_zps474a385f.jpg

Not much to be said here.  Sparkride's only differences in robot mode are the stickers...which obviously I lack.

Sparkride photo IMG_1009_zps539e9a6a.jpg

During this particular shot I noticed just how bad my Groove's chrome is.  That is completely unacceptable and will have to be upgraded in the near future!

Streetstar photo IMG_1010_zps34a2ee3e.jpg

While Fly Up traded Blades' red for blue, Streetstar is a stark white as opposed to Streetwise's off white.  This is the other toy that made me initially walk away from attempting this project.  Thanks to a fellow collector I met on Facebook, I was sent a loose Streetwise to test my painting skills.  Before the thought even crossed my mind to check out Hobby Lobby, I bought a simple can of Valspar white spray paint from Lowe's.  I paid a little extra and bought the paint that was meant for plastic and I'm glad I did as the final outcome looked good.  Masking off his windows, light bar, spoiler and wheels was a task, but necessary if I wanted this to look good.

Streetstar photo IMG_1011_zps542b75de.jpg

Like many of Streetstar's teammates, he too has different stickers.  If you have a keen eye then you may have noticed that Streetstar normally has a different sticker where the rub symbol resides on Streetwise.  I had to put a regular Autobot sticker there just to give the vehicle mode a little more color.  After I had reassembled the toy, I started to look at the color of the light bar against photos of Streetstar.  I wasn't happy with the leaving the light bar as is, so I used some red paint to touch up the bar to match the original.

Streetstar photo IMG_1012_zps6025565d.jpg

The only thing I'd still like to do with Streetstar is paint the eyes blue.  A little too much over spray got onto the face and slightly covered his blue eyes.  I knew my free hand painting skills left a lot to be desired so I left it as is...for now.

Streetstar photo IMG_1013_zps5c689c6a.jpg

The white really is a drastic change over Streetwise's off white.  I much prefer the white, even though it gives me more problems trying to photograph.  It was around this point that I also noticed the red robot bits were a darker shade of red, just like the light bar.  So I unassembled the toy again as I had to have this as close to the original as possible.

Streetstar photo IMG_1014_zpsbc55d91d.jpg

It's a small change granted, but I felt I was being too lazy had I not painted these plastic bits.  As you can see, it's not a drastic change, but one that was needed.  Streetstar is one the left in case you couldn't tell.

Guard City photo IMG_1080_zps9017b2e1.jpg

And finally we have the money shot...Guard City!  This is what I was striving for all this time.  It's crazy to look back and think it took me nearly 8 years to accomplish my goal, but man does it feel good.  I'd still like to get a hold of Guard City's stickers to finish off the overall look, but I really can't express how satisfied I am.

Guard City photo IMG_1083_zpsa31ccee3.jpg

You be the judge.  Which version do you prefer?  Personally I can't decide as I think both look incredibly awesome.  Guard City's red, orange and blue works well once integrated, but so does Hot Spot's powder blue and red for Defensor.

Guard City photo IMG_1082_zps03606ce5.jpg

I have to give a huge thanks to Arkvander for his help with Fly Up and his overall confidence in me to get the job done.  Thanks also goes to Maz as his Guard City article on TF-1, especially his photographs were of great help.

I know some collector's may look down on me making my own toy, but I don't care.  I didn't make this guy to sell.  Not everyone has the ability to purchase every TF you want and frankly even if I could afford this guy, I'm not sure I could justify spending what the toy commands these days on the open market.  Collecting should be fun, not stressful.  While this project was a lot of work, it reminded me 1) how badly I need to upgrade the stickers on my Protectobots and 2) the joy that Transformers brings me.

So now the situation begs the question...should I attempt to make Guard City's nemesis, Battle Gaia?!